
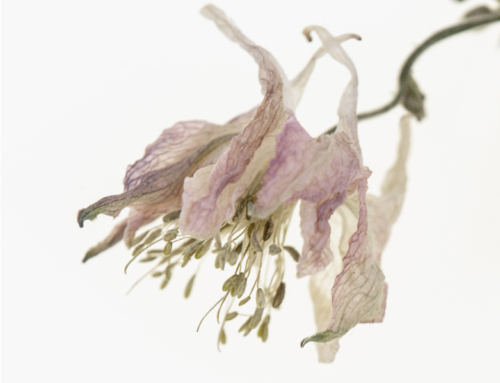
Mandalas + Encaustics = 6x6x30
Earlier this year, I was working on a great project where I created a 6” piece of art each day for 30 days, beginning on January 15 and ending on February 13. There were a total of 30 artists who were doing the same thing, though in vastly different media. An exhibit of all the projects, sponsored by Rockingham Fine Arts Association, would then be held in March. We had each applied to be included in the show last December with a proposal of specifically what our project would involve. My proposal was to combine the photographic nature mandalas that I’ve been making for about 10 years with my encaustic practice. It seemed like it would be a new way to present the mandalas, somehow enhancing their inherent sense of mystery, and would give me the opportunity to really dive in to the encaustic work with such a large number of pieces.
A quick primer on encaustc art:
It is a very ancient medium with examples still existing from the 2000 years ago. Encaustic comes from a Greek word meaning to burn in and involves the use of beeswax mixed with resin (encaustc medium) and encaustic paint (encaustic medium with pigments added) which are applied when warm. One of the many things that appeals to me about encaustics is the extremely wide gamut of how it is utilized. I also love the mysterious, dreamy quality that it gives to image. And working with warm beeswax is just such a soothing way to create art!
There were many steps along the way to my 30 pieces and I documented much of it so you could see some of the process.
The project began with preparing all the panels. These are solid birch wood panels, 1/2″ thick and 6″ diameter. Encaustic needs to be applied to a solid surface that will support the wax and prevent cracking. The surface also needs to be porous so the wax can soak into rather than just sit on top of the substrate. I applied encaustic gesso to each one which provides a white background to begin building the encaustic image. The gesso isn’t necessay if you don’t mind the warmth of the wood showing through but I decided I wanted the white ground so that the mandalas had more of a sense of light from within.
")


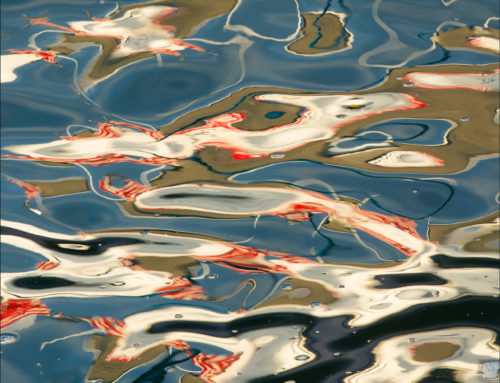
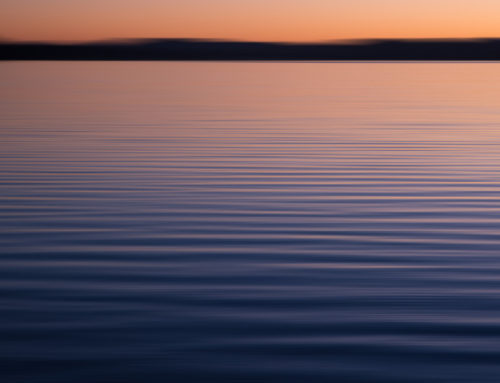
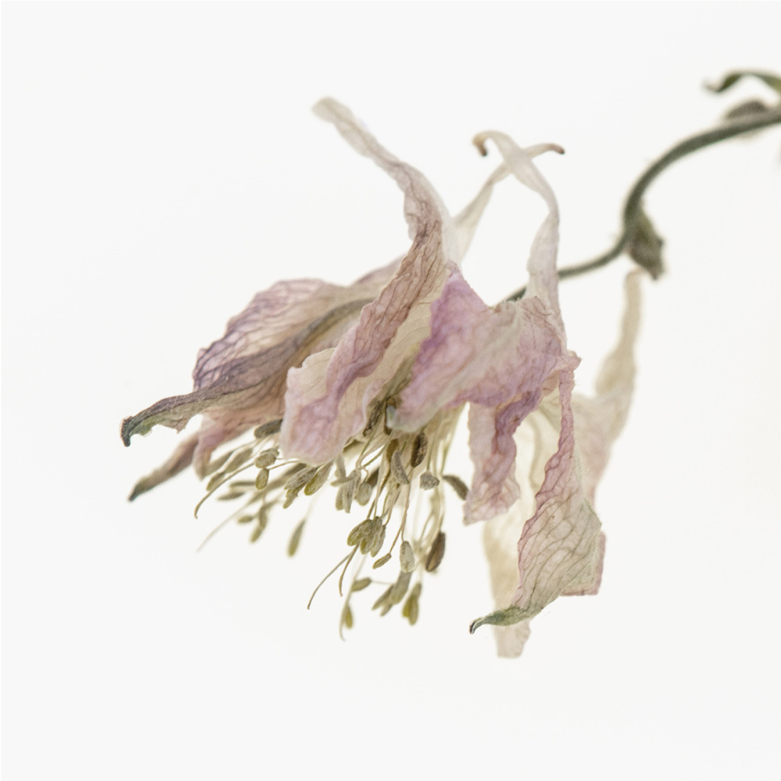
The next step was to print the images that I would use on the panels. With my own photographs I had already created many mandalas using a photoshop process that I developed several years ago. I had chosen some that I already had but I also created some new mandalas just for this project. Once I’d chosen which mandalas were to be included in the project I began printing them. I have a large format Epson printer that uses archival pigment inks and allows me to print on a wide variety of papers.
The plan was that some of the mandalas would be printed on either tissue or rice paper for translucency and then embedded in the encaustic medium. Other mandalas would be printed on cold press watercolor paper, without any color, and I would add back color by handtinting the images with watercolor pencils. The first image shows tissue paper prints hanging to dry. Since the tissue is so thin, it requires a carrier sheet to carry it through the printer withour jamming. I collect old used sheets of regular printer paper and recycle them as carrier sheets, hence the few odd colored sheets. The carrier sheet is removed before incorporating the print into the encaustic.
")


Once the images are ready, printed and/or hand colored, they need to be attached to the panels.
Cold press watercolor paper prints that were hand tinted with watercolor are glued directly on to the panels, taking care to not get any glue on the surface of the image. The glue would prevent the encaustic medium, which is a combination of beeswax and resin, from adhering in those places where there was glue. Once they are glued in place, I flip them over and cut away the excess paper.
")
")
")
The tissue paper prints require a different approach. With tissue or rice paper, one of the goals is to accentuate that translucency, so I build a few layers of medium and/or paint. Then the print is pressed onto somewhat warm wax and pressed down well. Then warm encaustic medium is brushed over the tissue to embed it in the wax. The first image below shows the panel with a few layers of medium as well as a final layer of paint with brass pigments. When I added the tissue paper on top, I wanted that sense of glow to show through. The last image in this group shows my palette with the warm medium and paints ready to be brushed.
")
")

Adding layers of warm medium to the panels comes next. The medium is heated to between 180° and 200° F. The palette pictured at the bottom of the first image has a heating element below it but you can also use electric griddles or frying pans as long as you have a way to monitor the temperature. At higher temperatures the medium gives off harmful fumes. That is also why an encaustic work space needs to have proper ventilation.
Each layer that you add has to be fused. Fusing, done with a hear gun or torch, melds all the layers together so that the final piece is all one piece of wax and paper and pigment and whatever else you’ve added in, rather than layers that could separate. My pieces incorporated in varying order, encaustic medium, encaustic paint, a print of some sort (tissue paper or cold press paper with water color), and pan pastels that were usually added at the end to punch up some of the colors. Each of those layers was fused to the previous layers.
Because of all the steps involved, instead of working on one art piece each day, in reality, I was working on up to 10 at one time. At the end of the month, I actually had 35 pieces and then chose which to include.


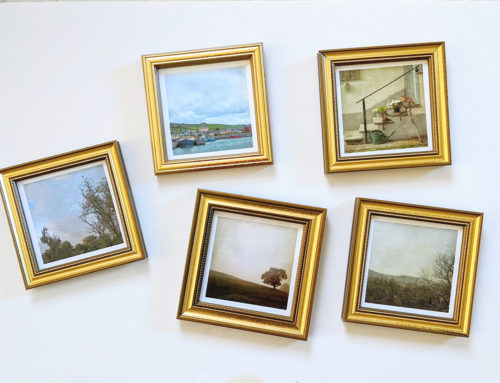
Once all the pieces were complete, I took the stacks of them up to my lighting studio and photographed each one separately so I had a good digital image of each piece. Then they needed to be arranged and attached to the large panel. The large panel came unfinished and I could finish it any way I chose. After some experimentation, I decided that a whitewash was the best The back of each round panel had a keyhole predrilled so the plan was to put screws in the large panel for the rounds to hang on. There was a bit of math to figuring out the exact placement of each screw. Painters tape helped to mark the grid for correct placement of the screws. And finally, it was loaded into the car for delivery to the exhibit.


")


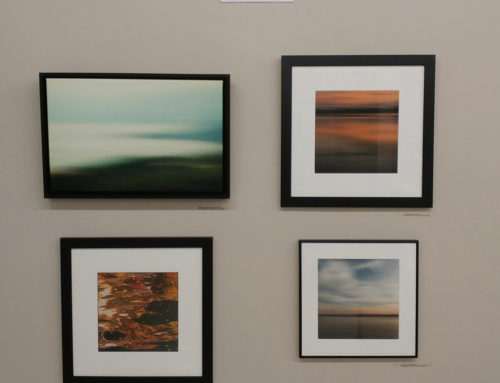
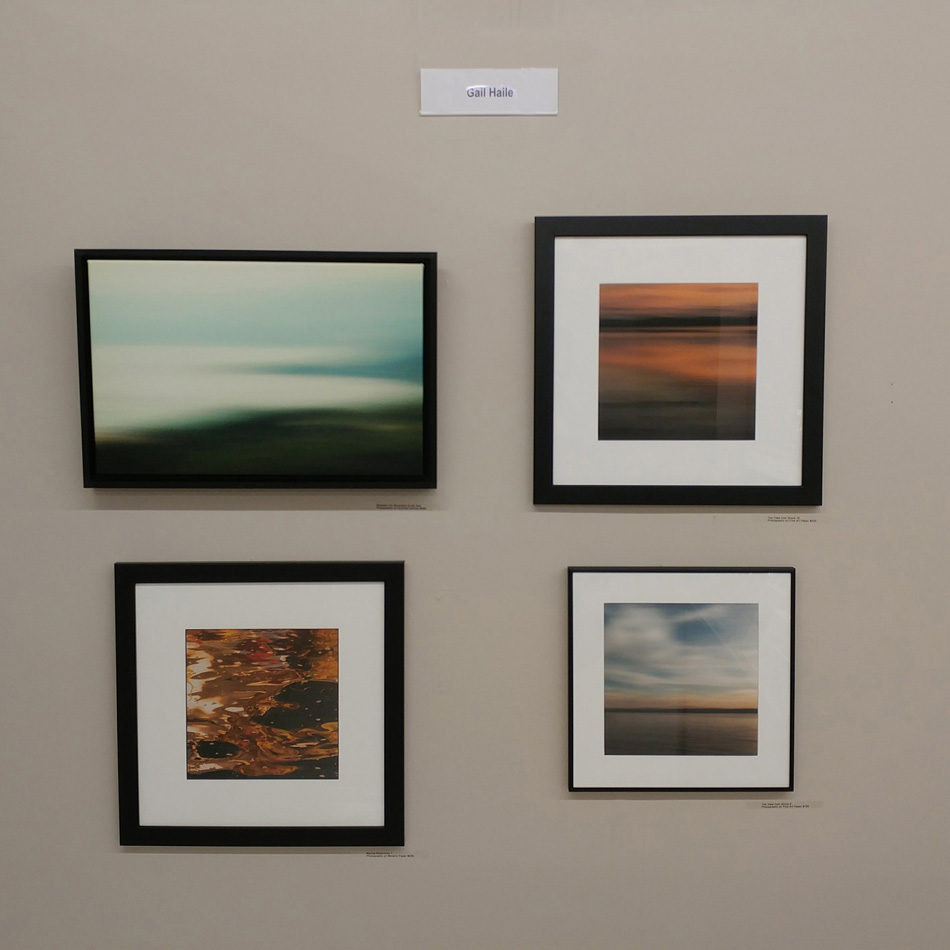
Opening night for the exhibit was Friday, March 5. There was great energy at the opening. Hundreds of people came who had been anxiously anitcipating the show after attending in previous years. It was so fascinating to see the myriad ways that the other artists had interpreted the theme. There were paintings, wood carvings, found metal sculptures, digital art, pen and ink drawings, wool roving paintings, collage, photography, and, of course, encaustics.
The venue for the exhibit was the main lobby of a large retirement community, a large open and airy space that is used continuously as an art gallery. Sadly, the retirement home was forced to close it’s doors to the public the following week due to the coronavirus, so the exhibit was only available to the public for a week. At this point, the pieces will stay in place until at least June. The residents now have all that extra time to enjoy the art!
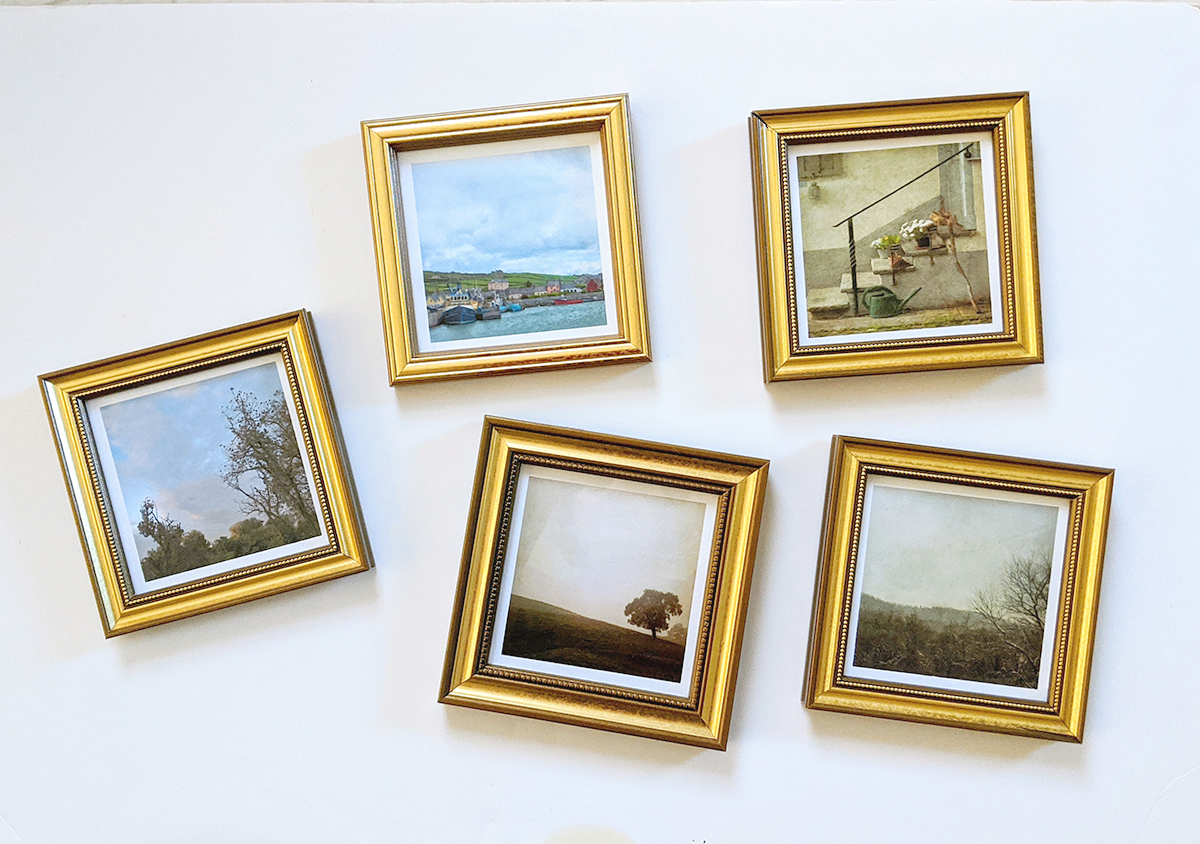
The individual pieces are in a web gallery here so that you can see a closeup of each piece.
It was really great to do a project like this that forced me to create this large number of pieces. I learned so much along the way and look forward to applying again next year. It will probably be a totally different project but I have till the end of the year to figure that out!

Gail, You are truly talented in more mediums than one. This is a beautiful work of art. I would think that the residents are enjoying the collection tremendously. Congratulations.
Thanks so much, Suzy!!!